
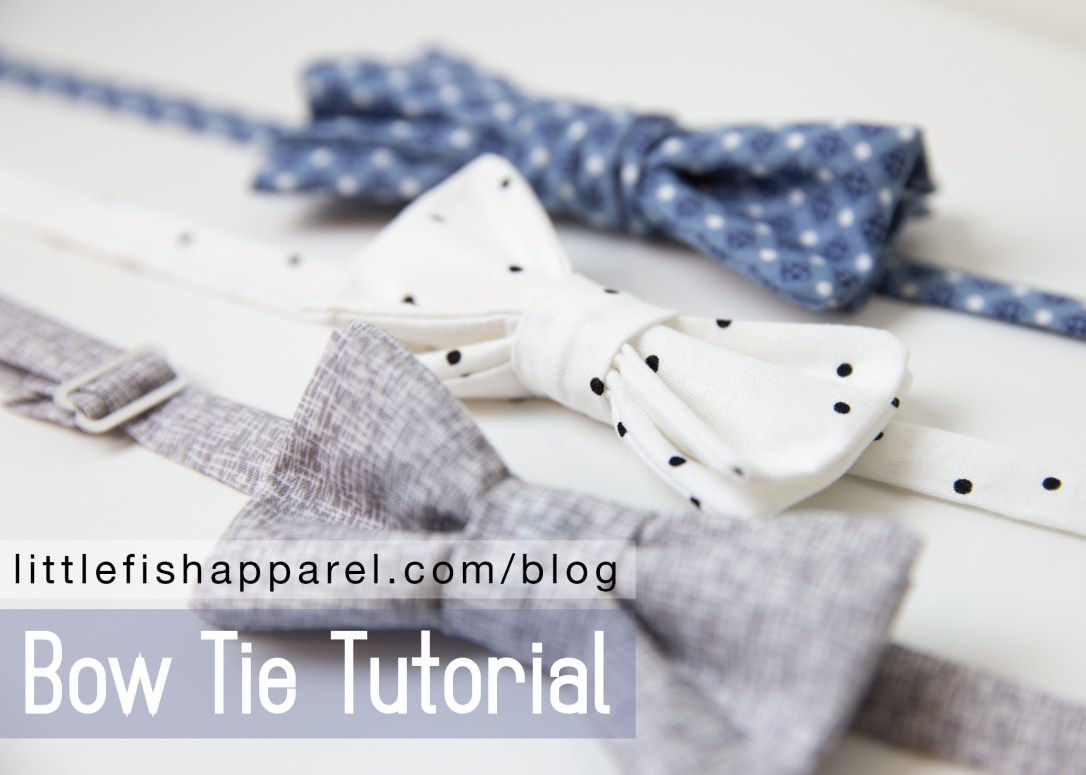
Making Bow Ties with Your Cricut Maker!
This is a sponsored conversation written by me on behalf of Cricut. The opinions and text are all mine.
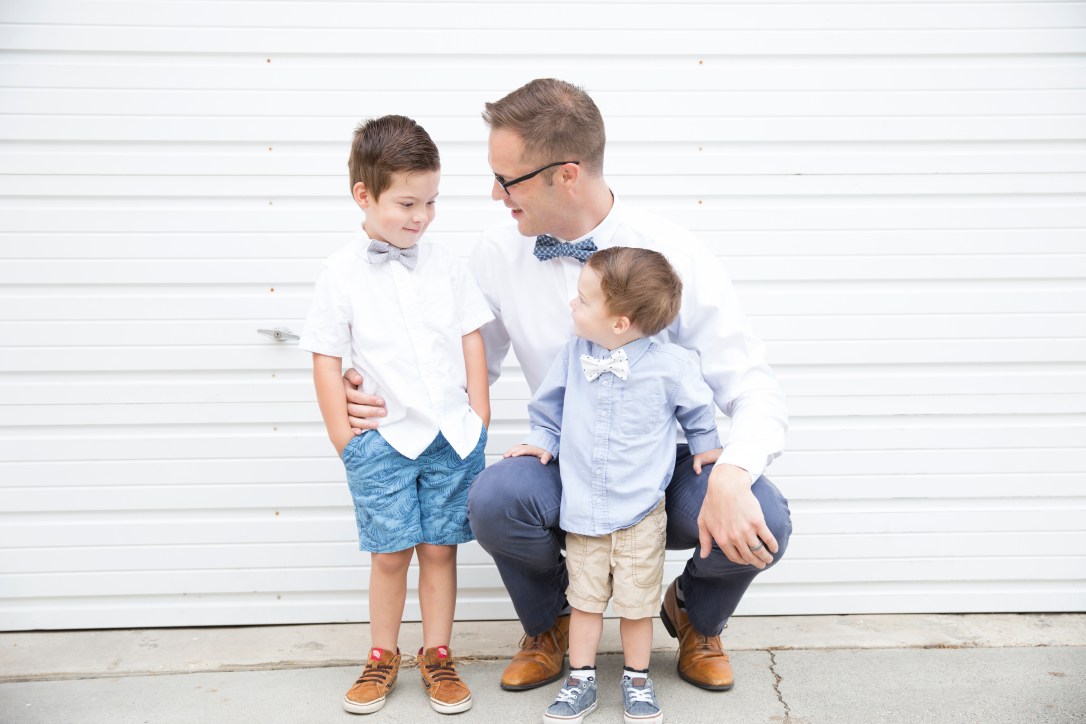
I’m in a household of boys, so I thought it was time to master the bow tie! My boys will sure be looking dapper in these new bow ties this summer. This would be perfect for a Father’s Day gift or for matching wedding attire. Maybe one day I’ll even add a clip for a little girls hair bow.

I was so excited when I found out I could access Simplicity patterns with my Cricut, and actually have my Cricut Maker cut the pattern pieces out! Mind blown. This makes my process so much easier, and I’m able to cut out 3 in the time it would probably take to cut out one.
Simplicity and Cricut have teamed up to bring you a ton of patterns that can be cut on your Cricut Maker. They can be purchased digitally, then cut and marked on your machine. Check them out here.
Supplies:
- Cricut Maker
- Patterns: Men’s Bow Tie, Boy’s Bow Tie
- Cricut Fabric Mats (12×24)
- Cricut Designer Fabric or other cotton fabric
- Fusible Interfacing
- Bow Tie hardware kit
Cutting:
- Prepare your mats with fabric and interfacing right side down.
- Load your fabric pen and rotary cutter into your machine.
- Follow the prompts through Cricut Design Space to cut out and mark all pieces.
Sewing the Bow Tie:
*3/8 seam allowance
- Apply interfacing to bow (1).
- Fold bow in half, matching notches. Stitch from top toward the notch and bottom toward the notch, leaving a gap in the middle. We will use this later to flip the bow RIGHT side out.
- Bring seam to center, press seam open. Stitch upper and lower edges. Trim seams. Clip corners.
- Turn bow RIGHT side out. Slip-stitch the open hole closed.
- Fold knot (2) in half, lengthwise, matching notches with RIGHT sides together. Stitch notched edge.
- Fold neckband (3) in half, lengthwise, with RIGHT sides together. Stitch seam, leaving ends open.
- Turn knot and neckband RIGHT sides out using a safety pin or needle. Bring seams to center back and press.
- Place both bow pieces together with slip-stitch sides touching. Crush bow at center and place knot around the center, turning under and lapping one end on the UNDERSIDE. Slip-stitch closed. Tack knot in place on UNDERSIDE of bow.
- Pin a safety pin to one side of the neckband and pull it through the knot on the UNDERSIDE of the bow.
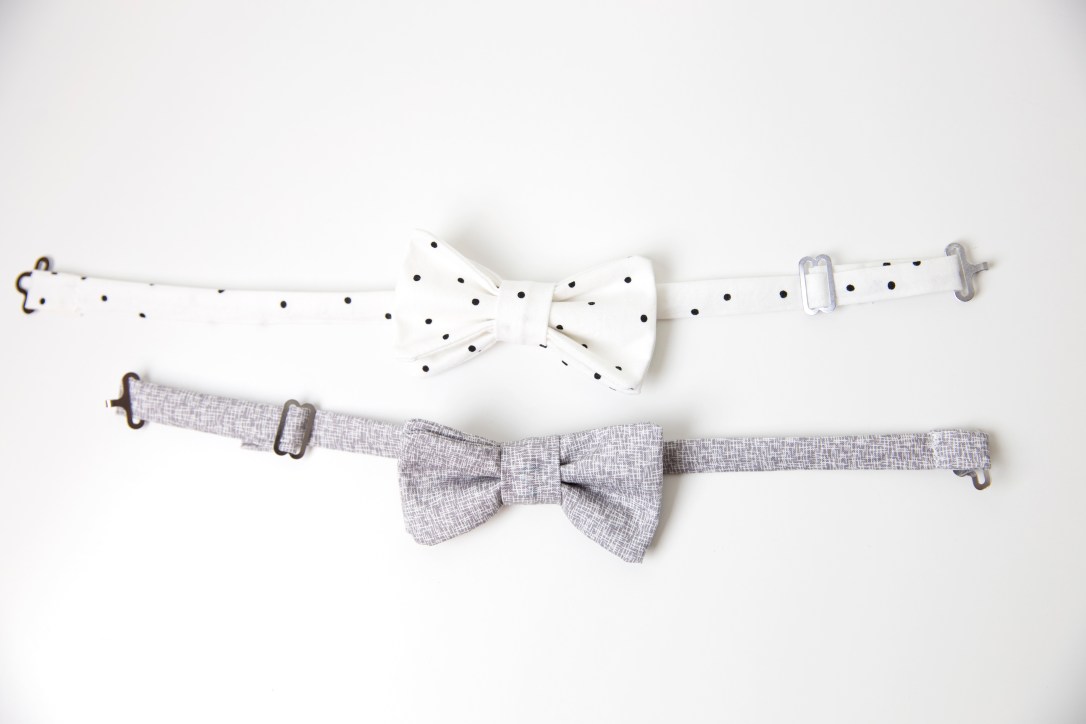
- Attach Bow Tie hardware as directed on the package. Velcro could be a great option here too.
- You’re done!!
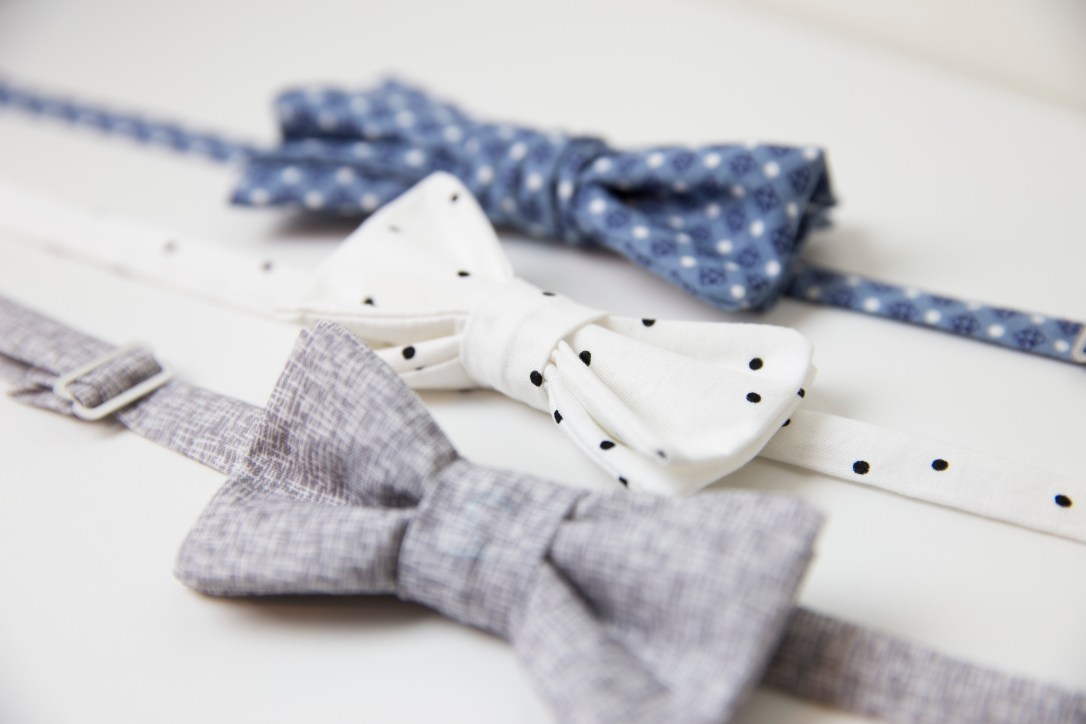


Thanks for following along! I had a lot of fun making these ties. They are such a quick and fun little project, and are a great scrap-busting project. Have fun trying your own.

1 thought on “Cricut Simplicity Bow Ties Tutorial”