
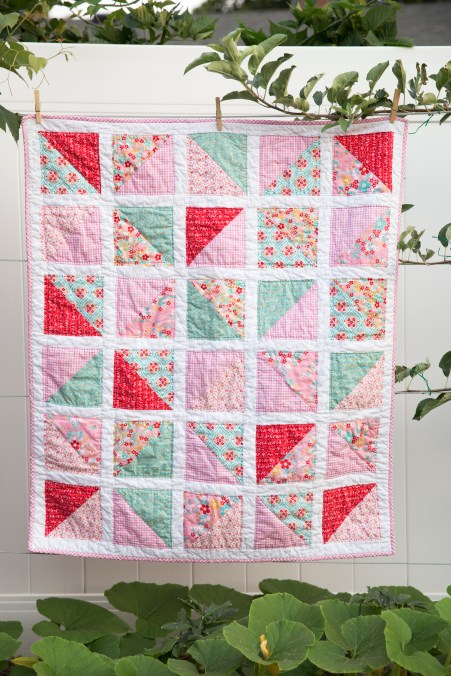
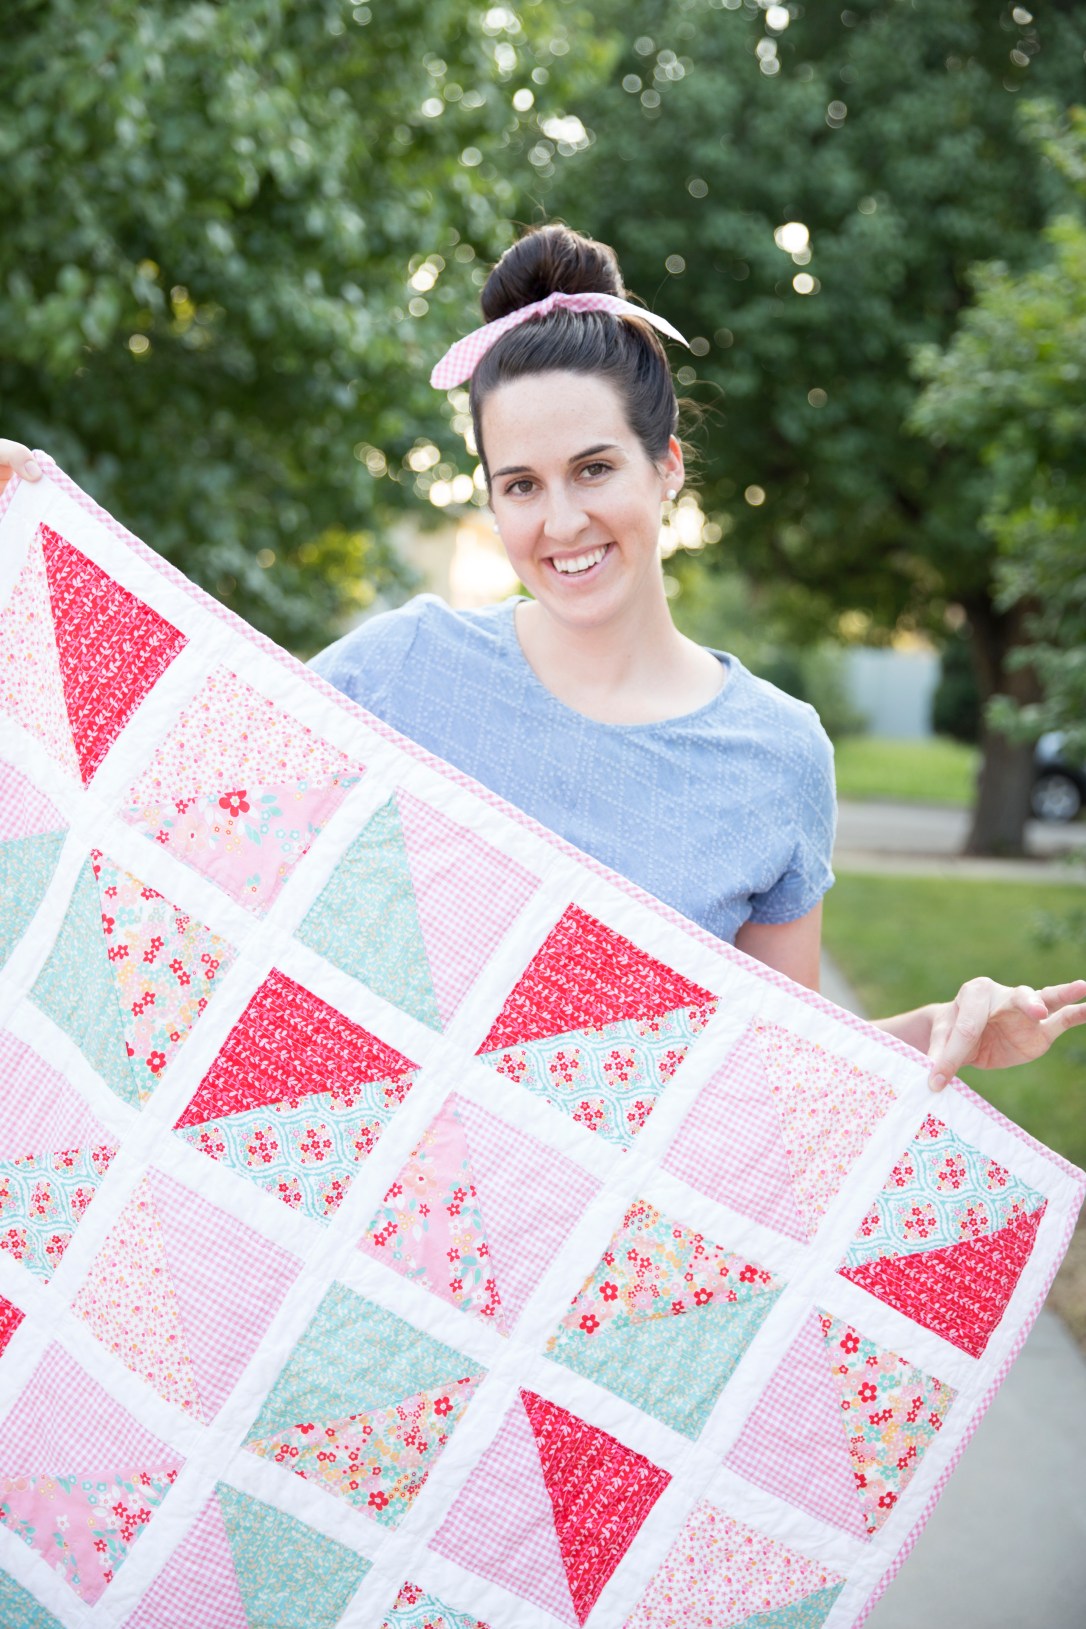
Okay people, listen up! This is my very first quilt, so I want to share my honest experience and tell you a little bit about how Cricut made the process go smoother for me. Almost none of my sewing is perfect on my quilt, but it’s a project I will cherish for years.
After completing this quilt I am eternally grateful for all the quilts people have made for me and my kids throughout the years! Wow, what a labor of love. I’m not sure I will have it in me to ever be a quilt giver, unless my direct offspring desires it. Even then, I’m not so sure. Not going to lie, parts of this process were really challenging for me.

Cutting though, was not one of those challenging parts. My Cricut Maker made the cutting process a breeze. It was fast, easy, and walked me through every cut. I’m so glad I had the support from Cricut to conquer this first quilt. You can read more about cutting your quilt out with your Cricut Maker, here.
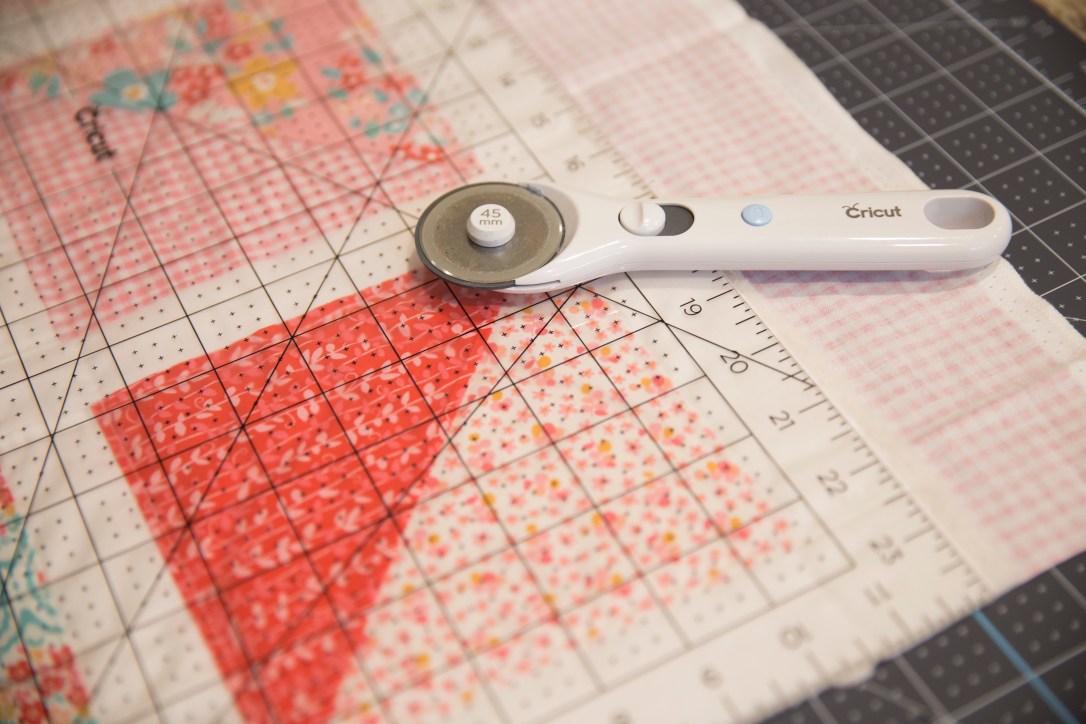
I used my Cricut Self-Healing Mat and Cricut Ruler to square off all the sides of my quilt in preparation for binding.

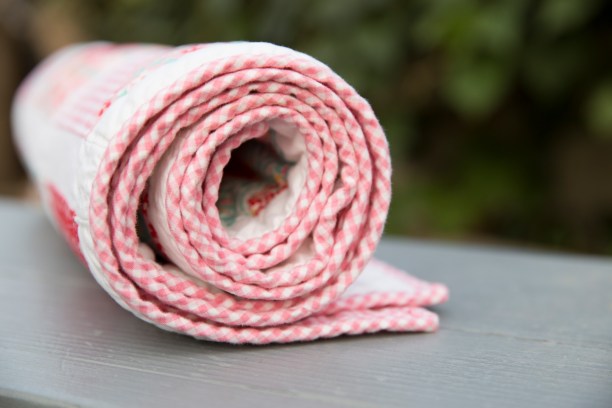
For my quilt backing and binding I wanted the pink gingham. If you want to do this, you’ll need to purchase enough fabric for your back and binding. I bought mine HERE. If you’re a dork like me, you can make a matching hair tie to match your quilt and we can be dorks together.
I borrowed a walking foot from my Mom, and started quilting. Quilting the quilt top went much smoother than anticipated and I’m really pleased with the results. Now I’m convinced I need to start saving for a walking foot immediately. That is a magical foot.
After some research, I settled on machine binding my quilt because I wanted it to be durable through the hundreds of washes that will inevitably face this baby blanket. This is where my quilting process got a little tricky.
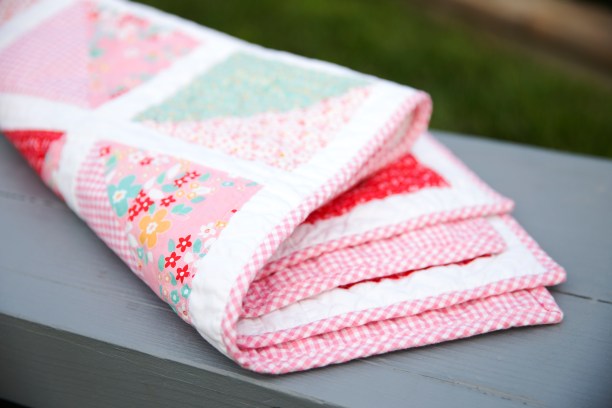
The most challenging part of this quilt was the binding. I might have made a few angry phone calls as I struggled though this part. It took me awhile to gather the resources I needed, so I thought I’d share them here:
- The Spruce Crafts: Making Bias Strips
- Red Pepper Quilts: Binding Tutorial
- Diary of a Quilter: Fast Machine Quilt Binding 101
The mitered corners on the binding had me in a nervous sweat before I found this awesome tutorial by The Spruce Crafts. Turns out, this was my favorite part! It’s so rewarding to see your binding turn into that beautiful corner. You can check out that tutorial here:
- The Spruce Crafts: Mitered Corner Quilt Binding
Quilt Pattern: Trendy Triangles
Quilt Fabric: Riley Blake Quilt Kits – This is the one I used.
A huge thanks to Nicole, of Merritts Makes, and Jennifer, of Peppermint Creek, for letting me pester them with questions all month long as I worked though this project.
If you’re interesting in picking out a quilt pattern or quilt kit, you can learn more about that process in my previous blog post – HERE. Cricut and Riley Blake have teamed up to bring these fabric and patterns to us. They are so fun, go take a look.
Thanks for following along with me as I made my very first quilt! I want to hear all about your first quilt experiences. Did your Mother teach you the art of quilting? Did your project flop? Tell me all about it.

way to go girl! looks amazing! Love that the cricut can do so many amazing things!
LikeLike