
 I’ve had some questions about these tags, so I thought I’d officially share the 3 tags I’ve been making this Holiday season. I’m excited to add these to my wrapping stash, and I’m hoping they will last though out the year for birthday wrapping also.
I will show you the 3 types of tags I’ve been making this year.


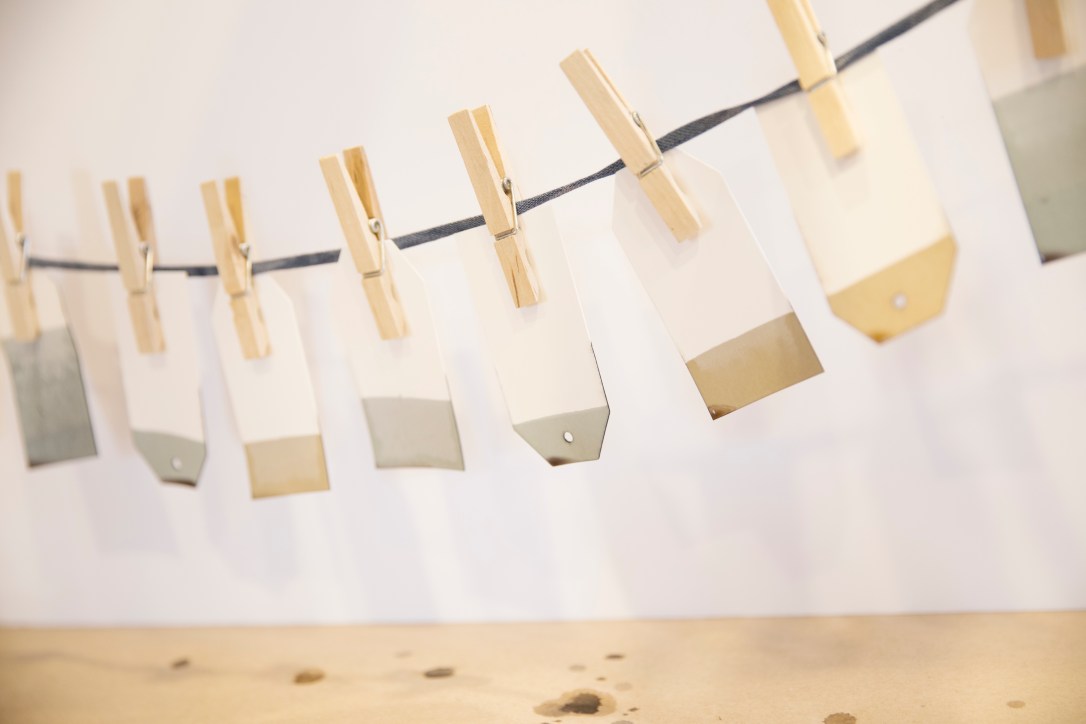
1. Dip Dyed Tags
I started out by mixing three colors to get color #445 from Rit’s color guide. I also created 2 other varieties using color #445 as a base and altering it somewhat. Be sure to test the colors on scrap card-stock before you start using your tags.
I soaked mine for 2-6 minutes. This will depend on the thickness and finish of your tags.
2. Cricut Glitter Iron-On Tags
The next type of tag uses Cricut’s Glitter Iron-On. This Iron-on is so beautiful and fun to work with. Seriously I can’t believe how fast and beautifully these came together.


I wasn’t sure how well the Glitter Iron-On would stick to my card-stock tags, but it did super well. They aren’t going anywhere, that’s for sure! Did you know you can also use Iron-on for wood? I have to try that next.

I used my Cricut Maker for these tags. You can cut your own tags with my cut file. Check that out here.
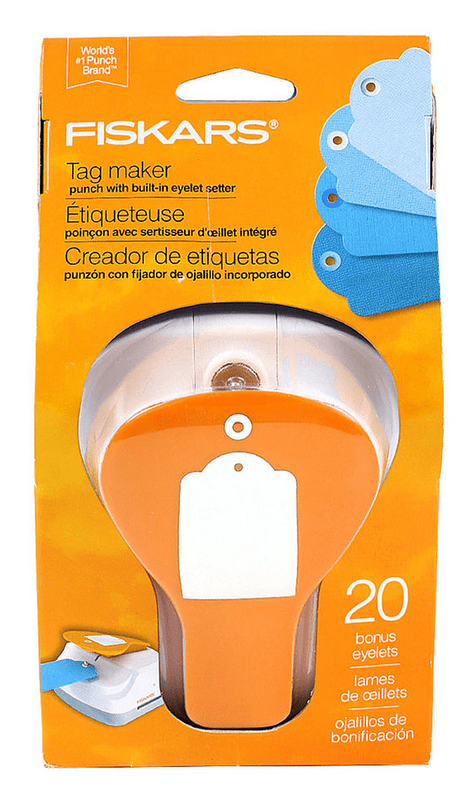
3. Fiskars Punch Tags:
A quick and inexpensive source for tags is the Fiskars punch. This method may be the fastest also! While there’s less variety here, it’s fast and comes with cute metal eyelets which I love. I plan on reusing these tags again next year, and the metal eyelets will definitely help them save longer.
Another great source for tags is Amazon. Here’s some white, wood, and general tags.
Thanks for following along! I’d love to see the tags you create this year.
