


This month I had the privilege of hosting a #coatmakingparty on Instagram with Tihana, Jen and Nicole. We had a blast making coats together and watching people join in and make there own. Thanks to all our sponsors and everyone who participated. I love these parties because they motivate me to complete a big project within a time frame and with the support of the online sewing community. You guys are the best!
The Clare Coat
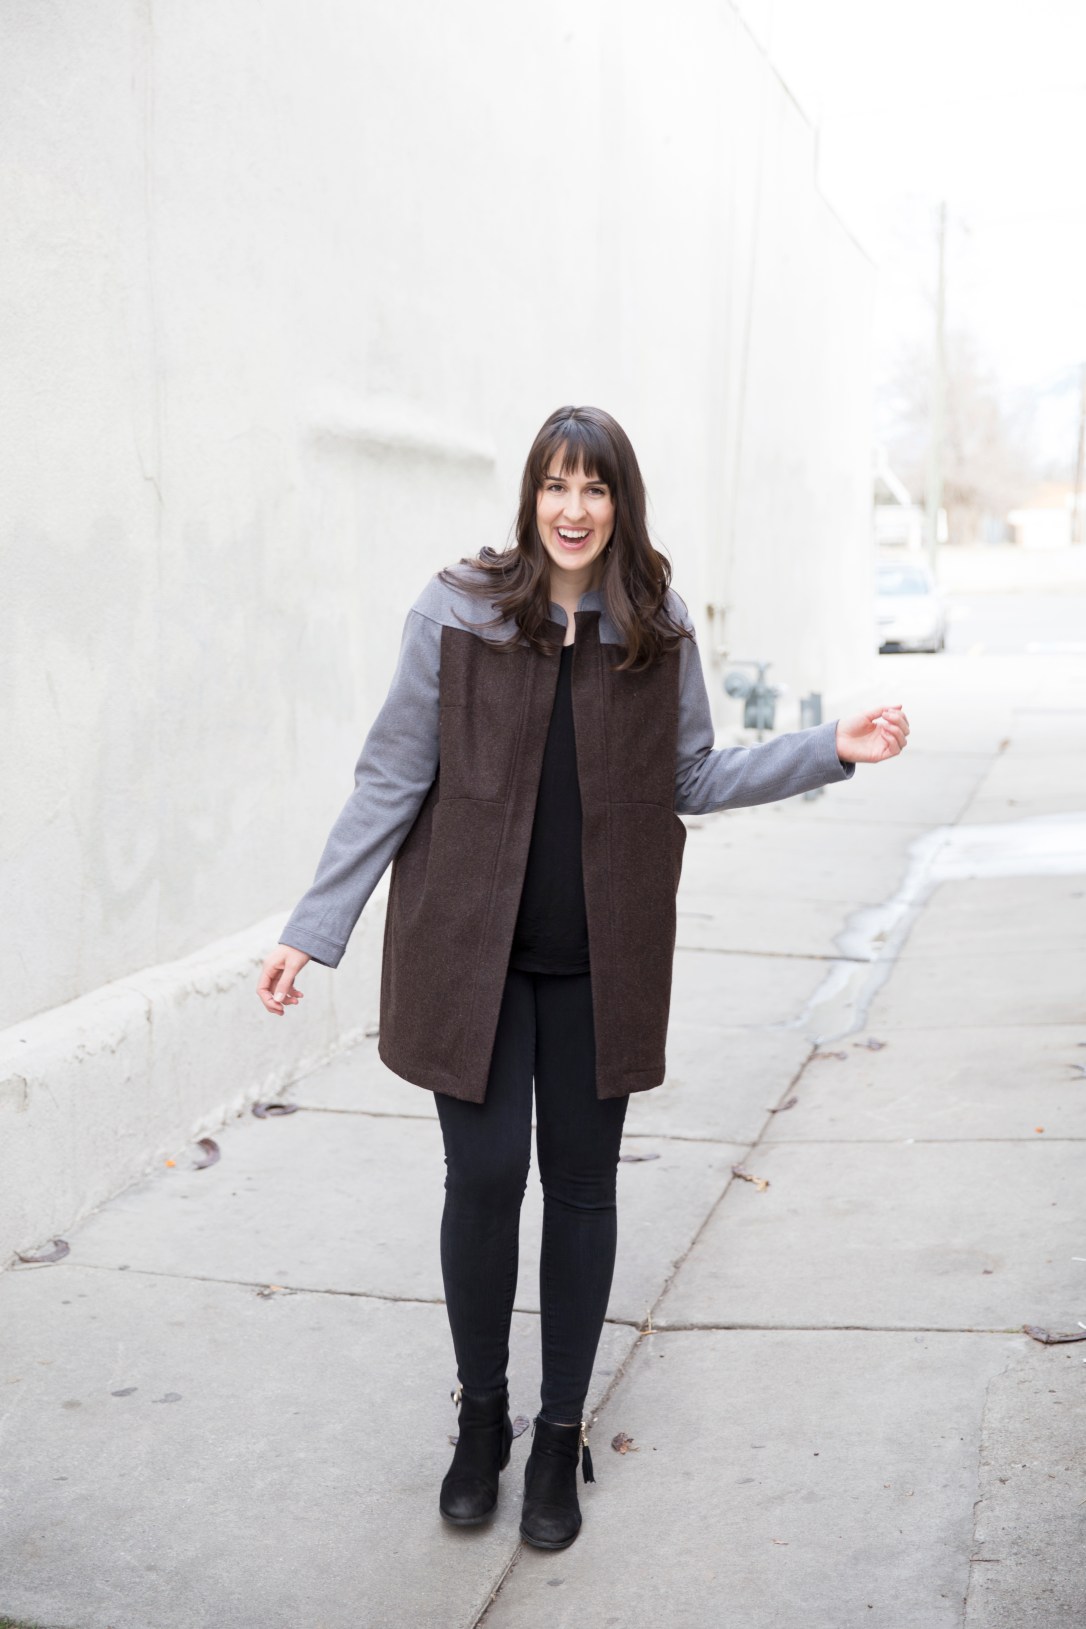
First up, my Clare Coat by Closet Case Patterns. The coat making dream was born with this coat! All the hosts love this coat, and we all made one. I fell in love with those raglan sleeves and that chunky collar.

I knew I wanted a green/olive shade of wool and something leather in the mix. I searched around for wool in the Los Angeles Fabric District and was overwhelmed by the variations! I finally settled on the color Dark Green from Riley Blake. This is a looser weave 100% washable wool, which is incredible. I was still nervous to wash mine, so I cured it in the dryer with a damp towel instead.
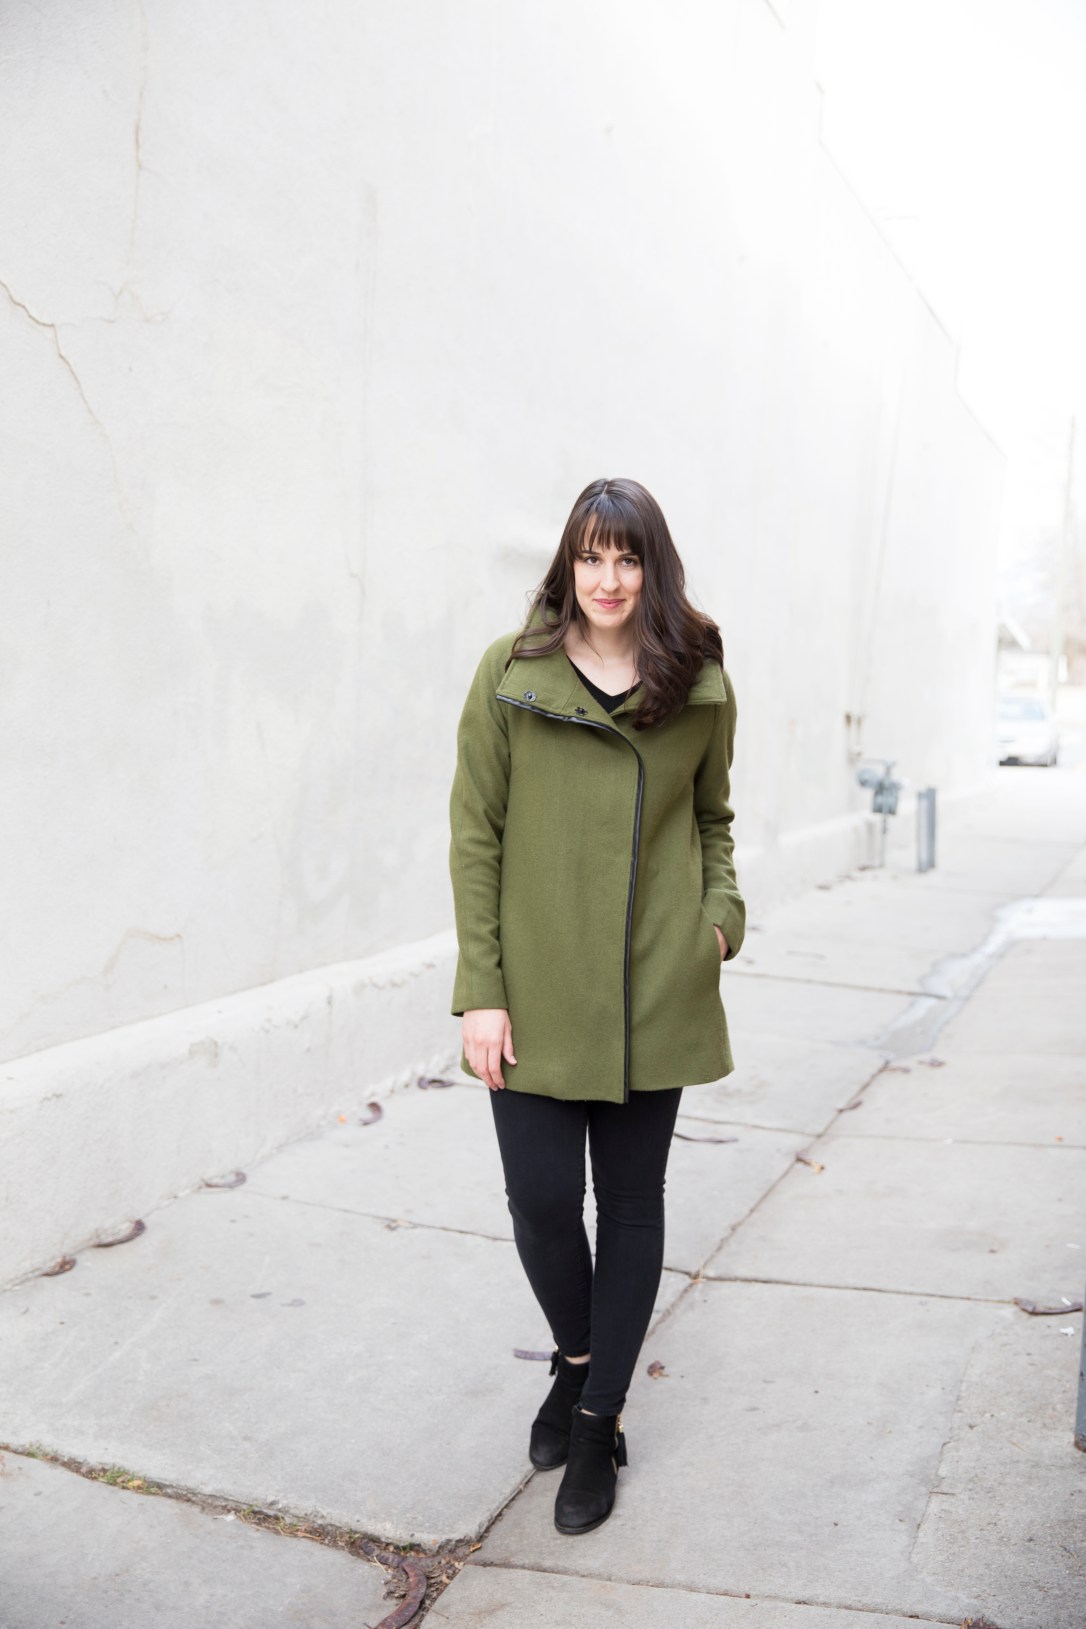

This wool is super warm and I’m really happy with the way it turned out. The leather detail is a pre-made binding I found at Joann Stores.


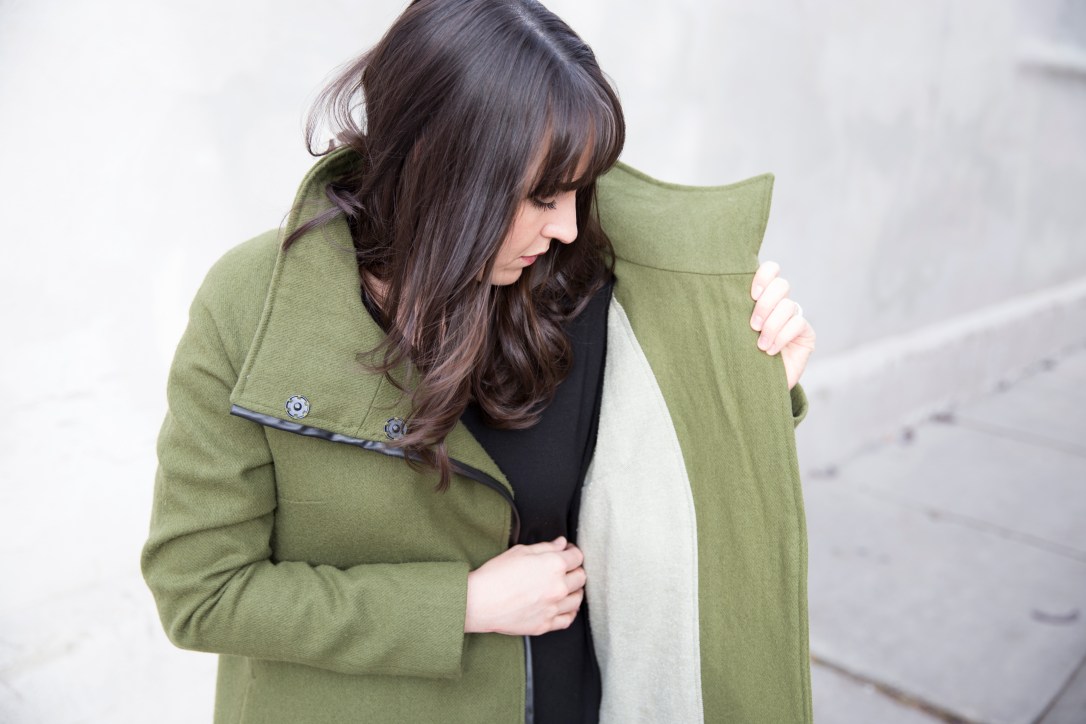
This big chunky collar is my favorite feature of the Clare Coat. So warm and protective for the cold winter, and totally looks cute folded over also.


For lining I wanted a Flannel for the body to add warmth. I found the most beautiful flannels at Raspberry Creek Fabrics, and decided on this sage Robert Kaufman flannel. For the sleeves I used a black Bemberg Lining from Joann. I do love the slinky factor of the Bemberg, but it is shifty to work with — be warned.
Alterations I made:
- Added 3 inches to the body above the pockets
- Added 3.5 inches to the sleeves: next time I will add this length above the elbow dart. Next time I will probably add 4 inches to the sleeves.
- Leather binding detail
Things to note about this pattern:
- The arms are too SLIM. I let mine out about 1/2 an inch.
- The elbow dart is high. Consider lowering it, or add your length above the dart.
- The coat shell collar has to be eased in quit a bit! Be careful here.
The Moderne Coat
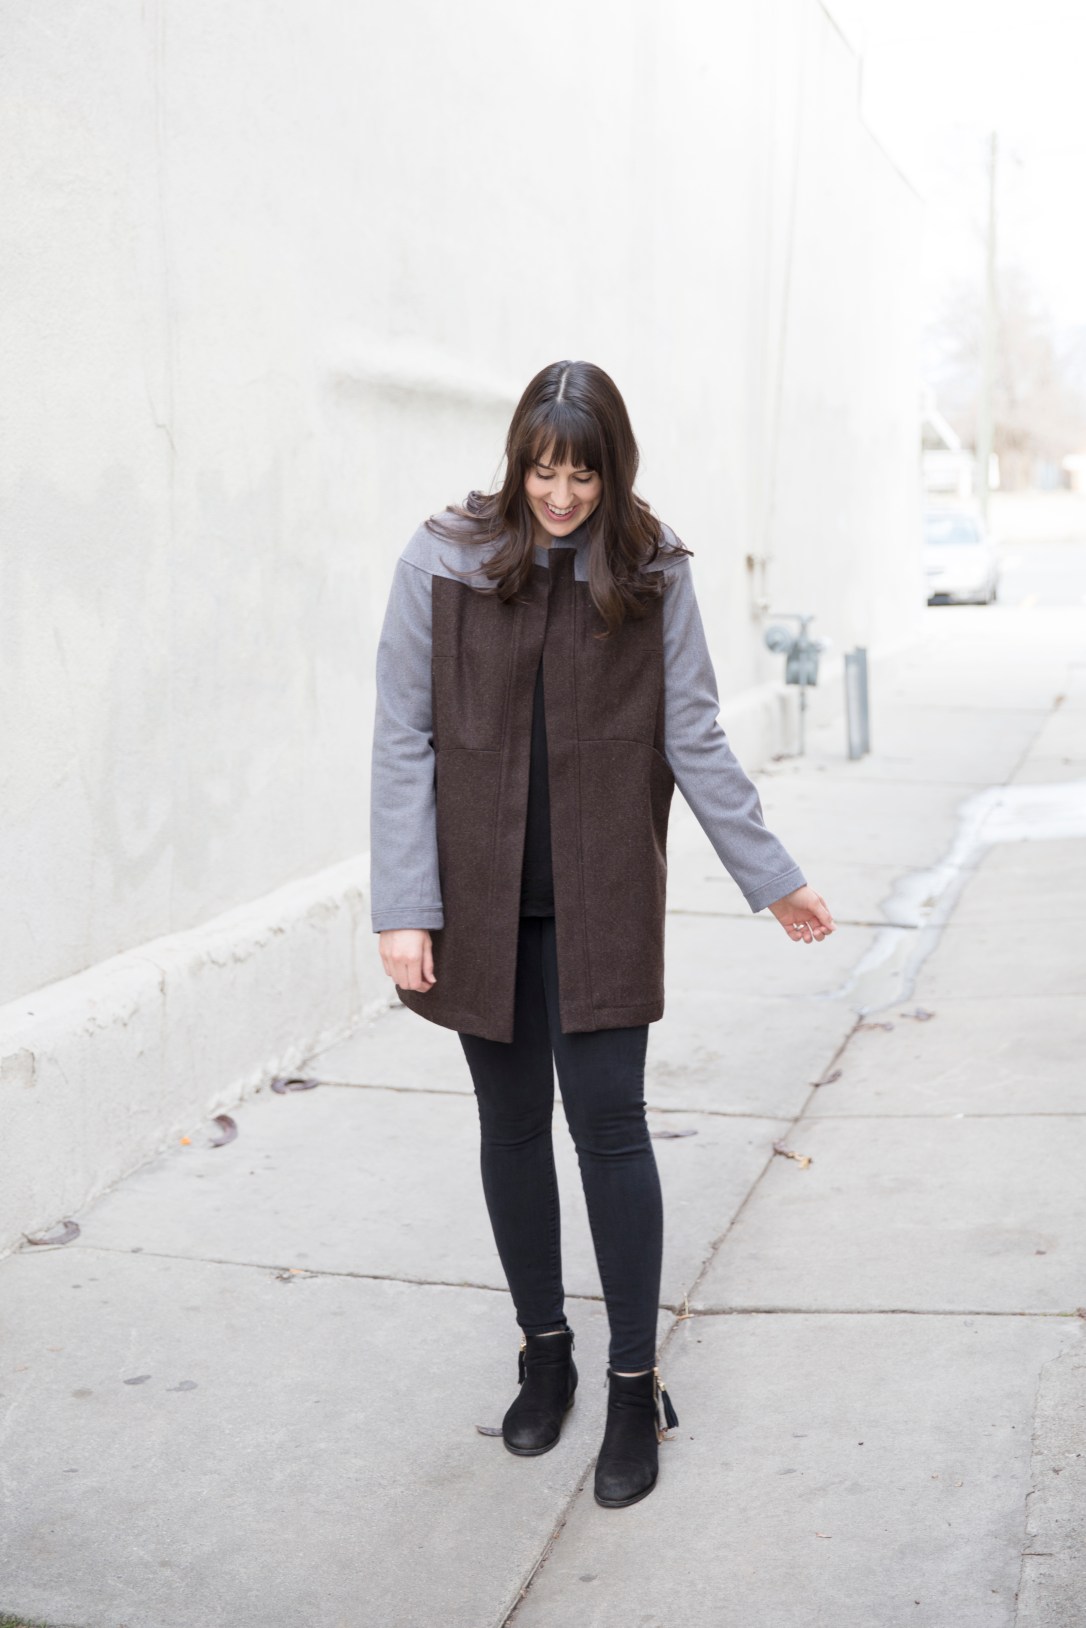
I can not accurately describe my obsession with this coat. It’s by far, my favorite thing I’ve EVER made. That’s right, I said it!! And I’ll probably say it again, but for now it’s very true. I combined the two views, did my own thing, invented a lining, and couldn’t be happier with the result. Simple. Classic. Beautiful.
I had never sewn a Blue Prints for Sewing pattern, but when I saw Lauren’s tester version, I knew I would make one. Taylor, the pattern designer, was so awesome to work with and answered lot’s of my questions along the way.
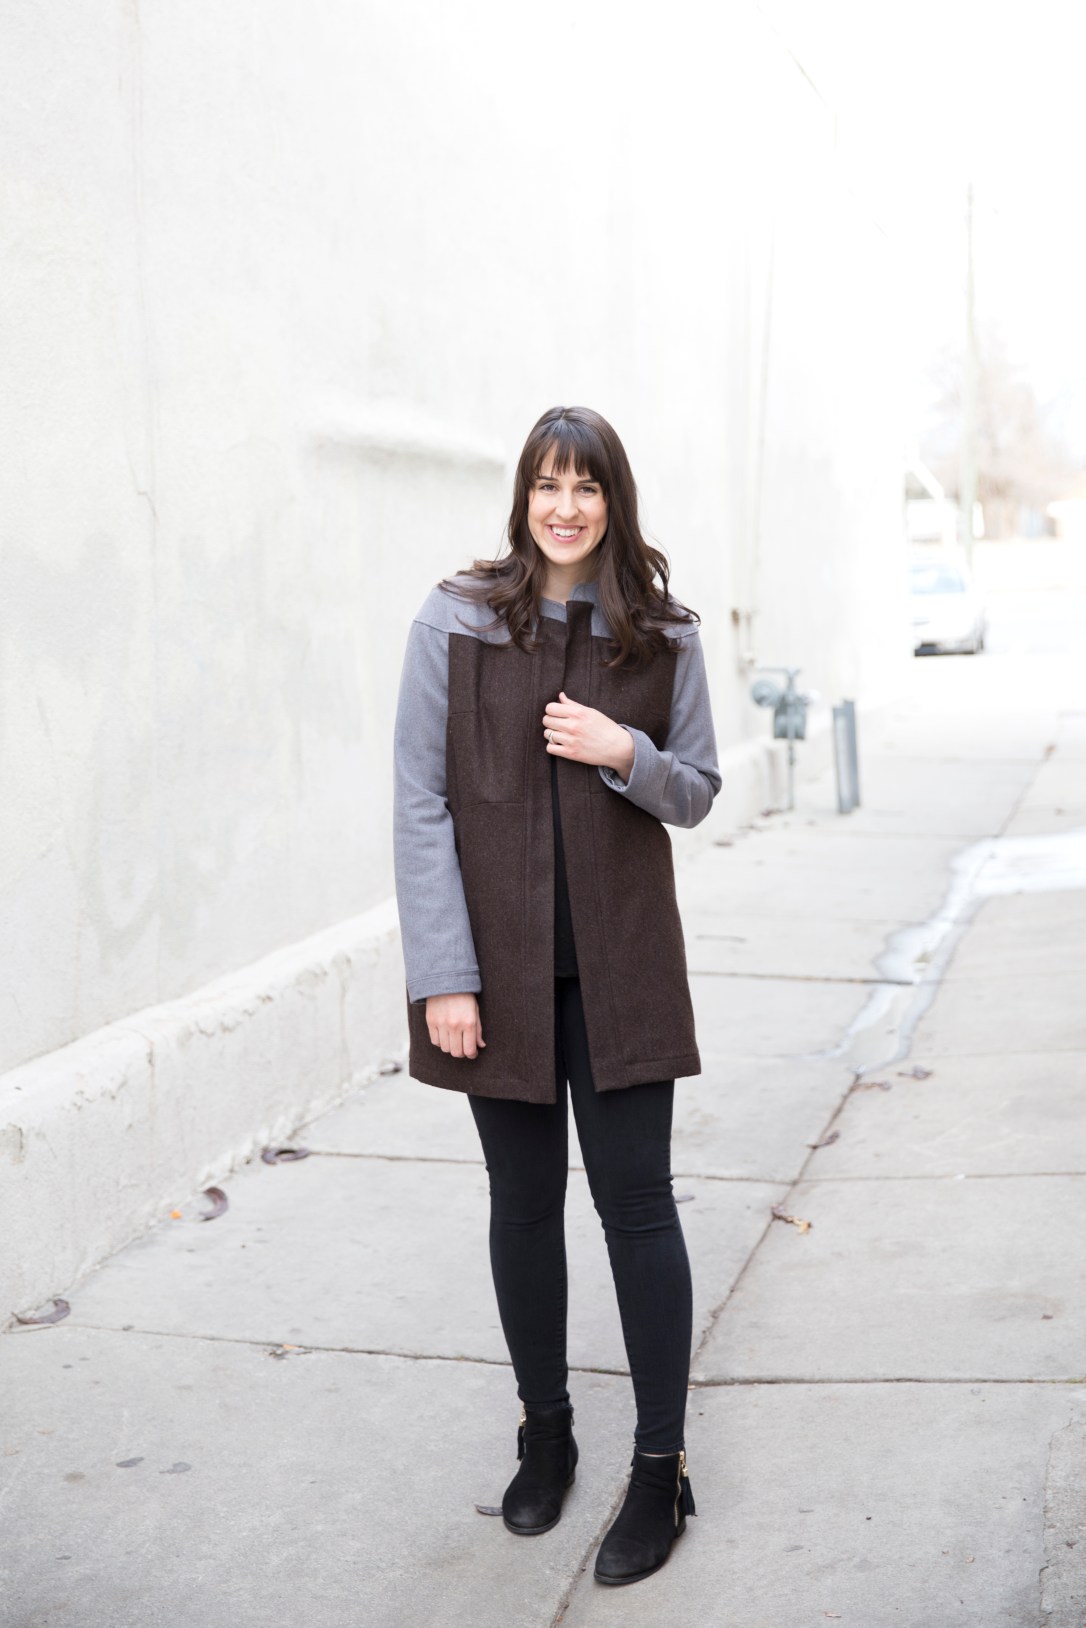
This pattern has such great lines to play with! I just had to color block it. I chose a totally different fabric on paper, but when I felt these two wools at Raspberry Creek Fabrics, I fell in love — hardcore! I kid you not when I say, I have NEVER loved a fabric more. AND, it’s the cheapest wool I found. I don’t work there, I swear. I’m just utterly smitten by these two wools. The weave is tight. The weight is heavy. Yum yum!!!!!


For the lining I used a remnant piece that my Mom gave me. I have no idea what the contents are, but it’s good quality. It was left over from the film sets at Universal Studios in California and was used previously in sewing suits for actors.

Alterations I made:
- Added 3 inches to the body
- Added 3 inches to the sleeves: I must have printed the 3/4 sleeve because it was far to short originally. Even with my added 3 inches. I ended up using the facing as a cuff.
Things to note about this pattern:
- There is no lining designed for version 1 so I had to do some improvising here.
Overall I had a blast sewing these 2 coats in January. Now I need a few naps and a Kit Kat. Thanks to everyone who tagged us on Instagram and participated. What are your next coat making plans?

2 thoughts on “January Coat Making Party”